A Windows 8 Survival Guide
A first glance at Windows 8’s features can leave you a bit confused. The Start screen is a huge leap from the previous versions of Windows, and it’s probably even more confounding for someone who was never really a Windows user to begin with. It doesn’t help that the features are geared more towards touch screen devices, making it more difficult for those using keyboard and mouse commands to adjust.
Thankfully, there have been plenty of guides to using the new Windows 8 features and apps. Here’s a compilation of some of the most useful pointers, from the beginner basics to the tricks of the trade.
How to Log In
Logging in may seem simple enough, but to a new user, the lock screen can be off-putting, since it lacks instructions on what to do next. To log in, simply press the space button or swipe upward on a touch screen. The list of accounts will show up and you will be able to choose one and type in your password.
Without Username
Don’t want to have to log in every time? There’s a way to fix that. (Warning: You will no longer have the admin privileges if you use this option.) Press Win + R, type ‘netplwiz’ and press Enter. The User Accounts dialogue should show up.
Clear the Users must enter a user name and password to use this computer box and click OK. Afterwards, enter the user name and password of the account you want to automatically log into, click OK, and then restart. Your computer should boot directly to the account you chose.
Picture Password
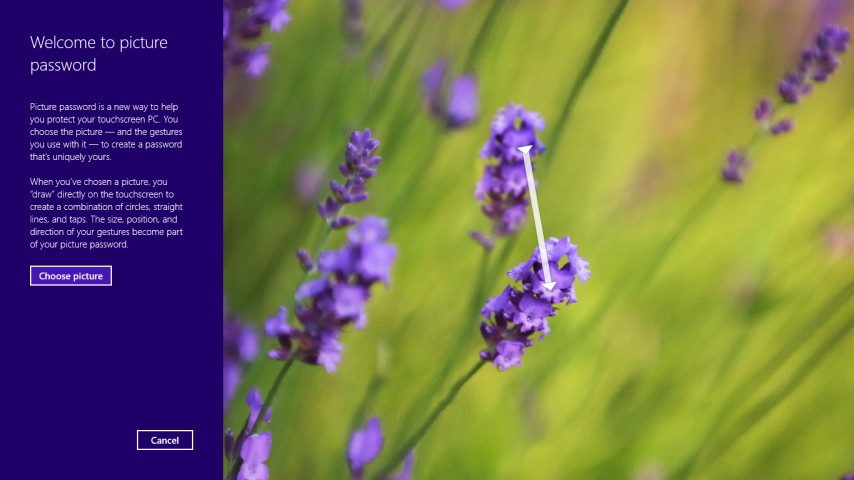
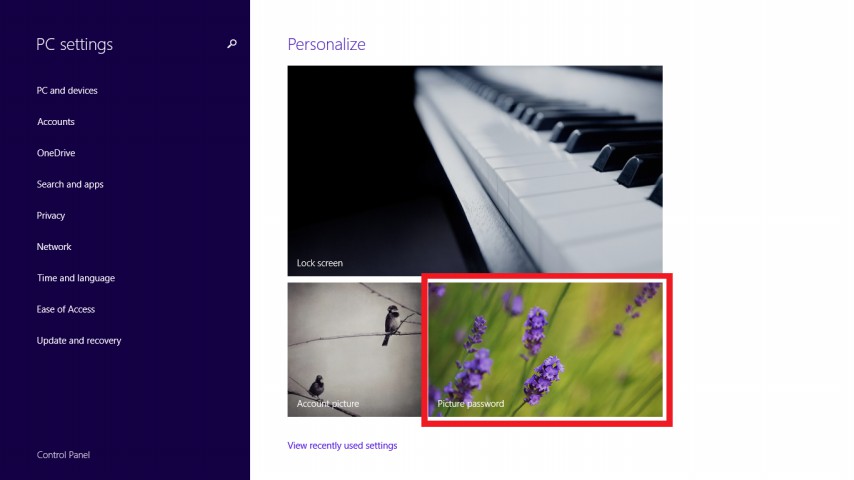
Windows 8 offers an option for you to create a picture password. You choose an image and create a combination of taps, lines and circles – this pattern must be repeated in order to log in. To activate this, click Win + I > More PC Settings > Users > Create a Picture Password. If you’re using Windows 8.1, after PC Settings you should be able to see the “Picture Password” option already.
Use the Corners and Edges
Swiping the edges and clicking (or even just placing your cursor over) the corners of your screen yield several powerful options.
- Start: Just left-click the bottom-left corner to open the Start screen.
- Power User Navigation: If you right-click the bottom-left corner instead, you will open up the Quick Access Menu. It has a list of useful commands and settings, such as Task Manager, Control Panel, Command Prompt, and others.
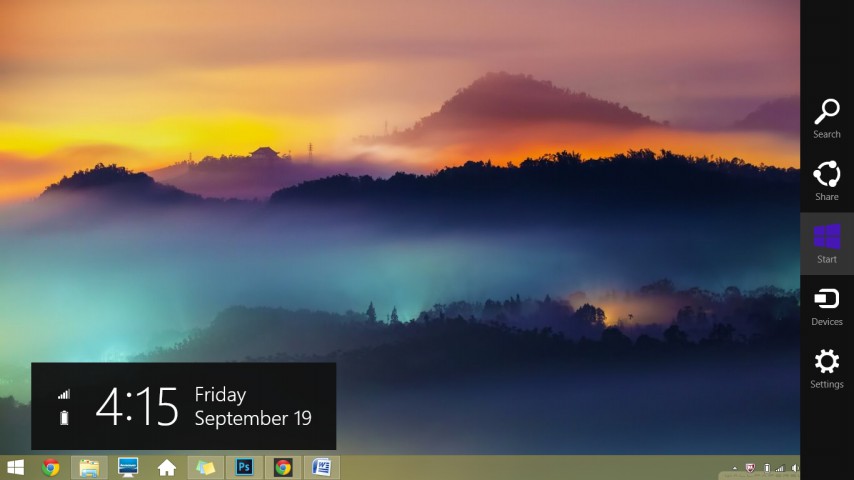
- Charms: Hover your cursor over the top-right or bottom-right corner. A menu of options should show up. This is called the Charms Menu, and it includes the following options: Search, Share, Start, Devices, and Settings.
- Multitask Quick Swap: Left-click the top-left corner to swap from one application to another, or from one application to the desktop.
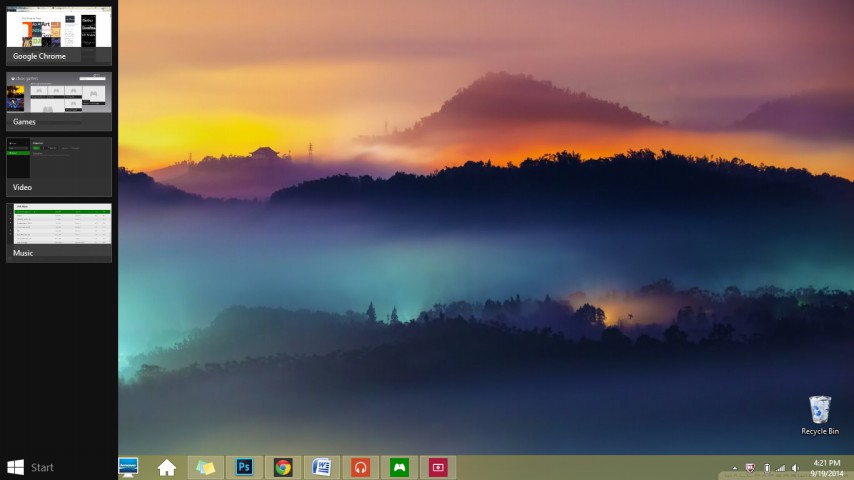
- Multitask Bar: Hover your cursor over the top-left corner and slide down. You should see the active applications and desktop.
- Close Live App: If you’re using Windows 8.1, hovering the cursor on the top edge should show you a bar where you can click the X button. Otherwise, to close an app, click the top-center of the app. Its display window should shrink in size. Afterwards, drag it downwards and it should close.
Organize Your Apps
The first time you open the Start Screen, there will be a variety of pre-installed apps. Later on, you’ll probably be downloading more. Here’s how to make sure your screen doesn’t get messy or confusing.
Group Apps and Name Them
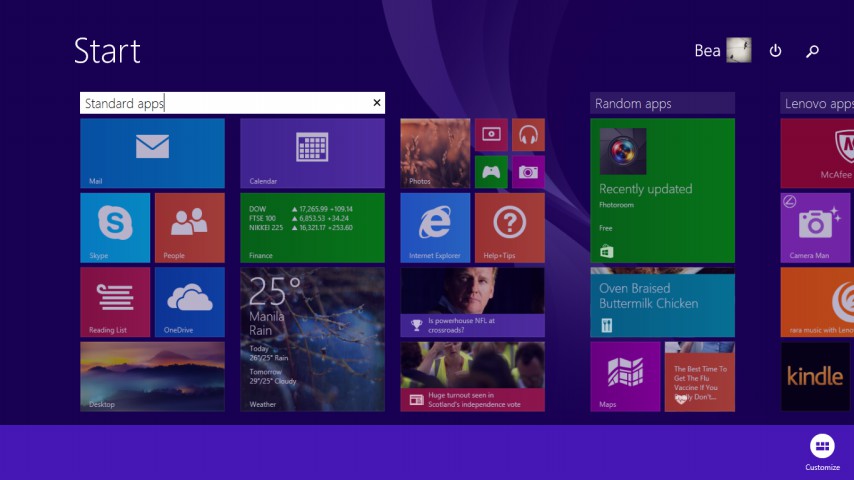
To group apps that are already in the Start Screen, just click the app and drag it to wherever you want. You can group similar apps together so it’s not that difficult to find them later on. Then to name the groups you’ve made, just right-click the Start screen and click Name groups.
For Windows 8.1 users, you can swipe downwards from the top-center of your touchpad. A bar should pop up at the bottom with the option Customize. You will be able to simultaneously move around apps and rename groups.
Change Size of Tiles, Turn Live Tiles On/Off, Uninstall and Unpin/Pin Apps
Some of the apps on the Start screen differ in size, some of them have animations, and some of them are only found in the Apps Screen and not the Start Screen.
I included all of these options under one category because they can all be accessed in more or less the same way. On the Start screen, simply right-click the app you would like to perform any of these actions on, and choose the appropriate action (e.g. Resize, Turn live tiles on, Unpin from Start, Uninstall).
If you wish to pin an app to the Start Screen, go to the Apps Screen, right-click the app and click Pin to Start.
Search Everywhere
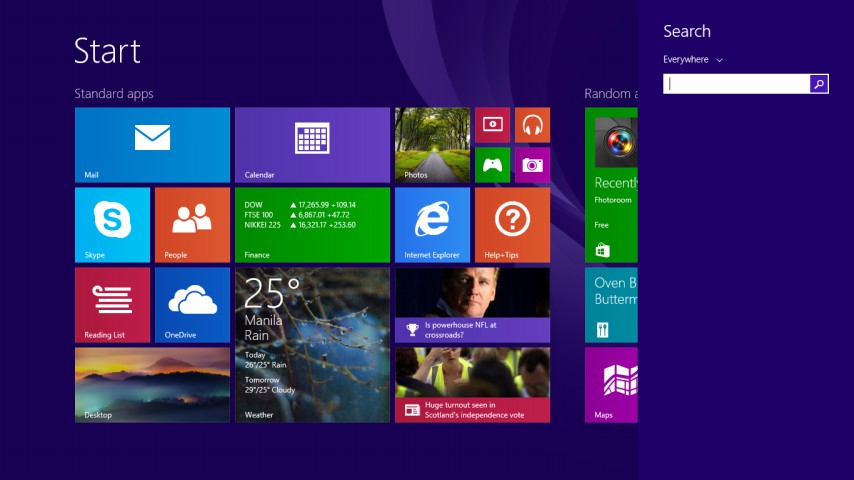
The useful thing about the Search option in Windows 8 is that it works hand-in-hand with Bing. This means that it not only uses the keyword you enter to search through your desktop files, but it also utilizes the Internet. To use it, you can either click Win + S or go to the Start Screen and click the magnifying glass icon at the top-right.
Take Screenshots
For Windows 7 users, the familiar Snipping Tool can still be found in Windows 8 (simply open and click New to take a screenshot, with the option to choose just how much of the screen you want captured). Then, of course, there is the immortal Print Screen button for copying the screen onto the clipboard.
Windows 8 also presents another convenient way of taking screenshots. Use the keyboard shortcut Win + PrtSc and a screenshot of your desktop will automatically be saved as a PNG file in your Pictures folder.
Split the Screen
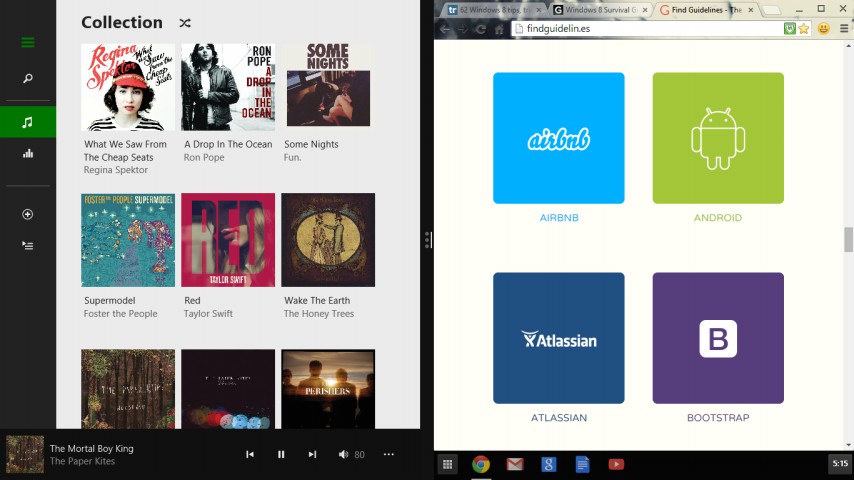
If you want to work with two applications at the same time, or with one application and the desktop, you can display them both simultaneously by splitting the screen in half. To do this, click the top-center of one of the apps you wish to use, and then drag it either to the left or right side of the screen. When a vertical black bar in the middle shows up, let go of the application and it will occupy half the screen. You can then open another app or your desktop; it will either automatically fill up the second screen or show up in the middle, in which you’ll have to drag it to either of the screens. (Note: You can drag the bar left and right to adjust the size of the screens.)
Reset Windows 8 Without Deleting Files
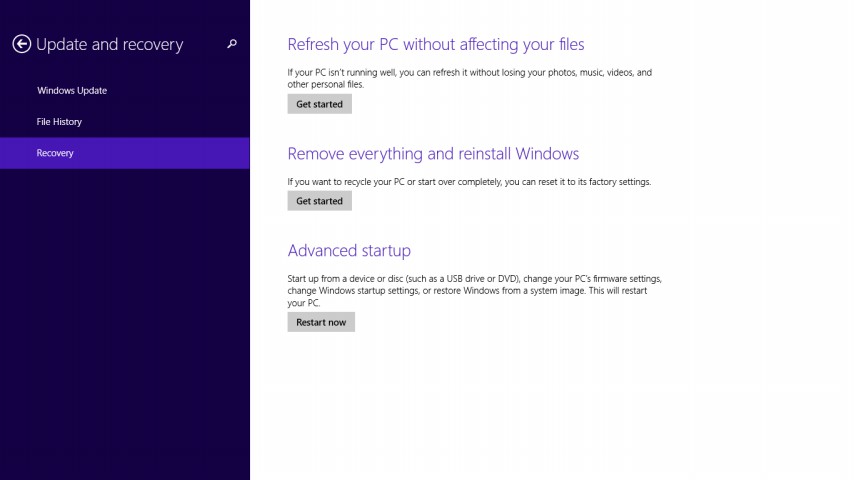
Want to make a clean reinstall of Windows 8 without having to back up all your files? Just go to PC Settings > General > Refresh your PC without affecting your files. This will give your PC a clean start without sacrificing all your photos, music, and personal files.
If you do, however, want to wipe your PC clean, go to PC Settings > General > Remove everything and reinstall Windows. You’ll get a new install of Windows 8 with all of its factory settings.
Note that for Windows 8.1 users, instead of PC Settings > General, the two options will be found under PC Settings > Update and Recovery > Recovery.
Those are just some of the many tips to using Windows 8. If there are still certain features you don’t understand, or you find yourself stuck in a situation you don’t know how to resolve, there’s always the official Help files in Windows. Just go to the Charms menu and type “Help” in the Search bar and you’ll have two sources to go to: the typical Help and Support window or the Help+Tips app (available in Windows 8.1). Otherwise, if you follow this guide, getting through Windows 8 shouldn’t be much of a problem!
Some of these tips came from the following sources:
Gizmodo (http://gizmodo.com/5955139/windows-8-survival-guide-all-the-tips-tricks-and-workarounds)
TechRadar (http://www.techradar.com/news/software/operating-systems/50-windows-8-tips-tricks-and-secrets-1028220/)
Simpliguide (http://www.simpliguide.com/windows-8-guides/73-a-beginners-guide-to-windows-8.html#.VBv5PvmSyrY)
PCWorld (http://www.pcworld.com/article/2012885/20-must-know-windows-8-tips-and-tricks.html)


Comments