Hit the Ground Running: How to Install Windows 8
by Jonathan Matias
(Any questions? Send me an email: jonathan.matias@studentpartner.com)
For a very long time, Windows has remained the same. We’ve gotten used to the Start Menu and the general ebb and flow of Microsoft’s operating system. But with Windows 8, Microsoft has made its ballsiest move yet. From the new Start Screen to the Lock Screen, and full-screen Windows 8 Apps to the Charms Bar, Microsoft aims to reenergize the way you compute across a tablet, a smart phone, and a PC—and look good while doing it with the fresh, modern take on what a User Experience is supposed to feel like.
Of course, running Windows 8 requires one to install it first. And this is where we come in.
This reimagining of Windows as most people know it even extends to the Installation and Upgrade process—and Wildcard is here to help you through the installation process and make it as painless as possible. Follow our guide, step by step, and you’ll be running Windows 8 in no time.
DISCLAIMER: For the majority, this guide will work without issue. But some manufacturers have important announcements regarding your device’s compatibility with Windows 8. Go to these sites to see if your laptop’s manufacturer has a specific guide for your PC:
- HP – http://www8.hp.com/us/en/ad/windows-8/information.html
- Samsung – http://samsung.com/Windows8Upgrade
- Acer – http://us.acer.com/ac/en/US/content/windows-upgrade-offer
- Asus – http://event.asus.com/2012/osupgrade/support/#-main
- Sony – http://esupport.sony.com/US/perl/os8upgrade.pl
- Lenovo – http://download.lenovo.com/lenovo/content/windows8/upgrade/ideapad/index_en.html
- Toshiba – http://us.toshiba.com/windows8-upgrade/
- Dell – http://content.dell.com/us/en/gen/d/campaigns/windows-upgrade-offer
- Fujitsu – http://www.fujitsu.com/fts/products/computing/pc/microsoft/windows8/
- Panasonic – http://pc-dl.panasonic.co.jp/itn/support/win8info.html
- MSI – http://event.msi.com/us/Windows8Microsite/
Steps:
- Double-check your system requirements:
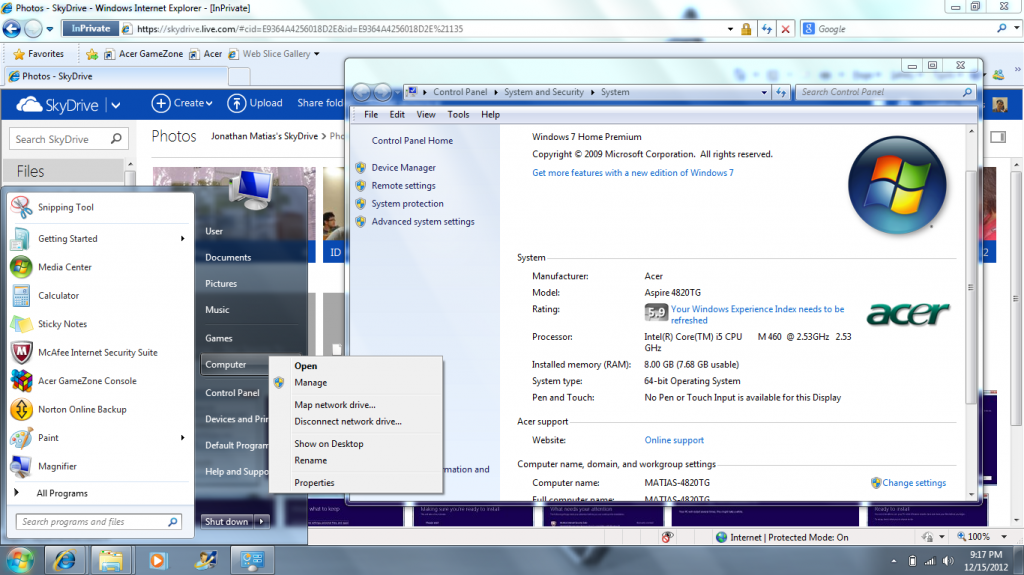
- Windows 8 requires a 1 GHz or faster processor with support for PAE, NX, and SSE2 (for those of us who could care less about jargon, your “Core-i” processors will work—anything older and you might have to do a little research, but more often than not your Core (2) Duo / Core (2) Quad will work);
- 2 gigabytes of RAM (right click “Computer” in the Start Menu and click “Properties” to check—look at the row labeled “Installed memory (RAM)”) and 20 gigabytes of hard disk space;
- a 1366 by 768, or 1366 x 768, resolution screen (go to your Desktop, right click an empty spot and click “Screen Resolution” then click the box next to “Resolution” and check the highest value possible) to run two Windows 8 full screen apps side by side;
- and an internet connection to connect to an Outlook, Hotmail, MSN, or Live account and log in using it. (You can choose to use a local account if you don’t want to synchronize your settings over the internet.)
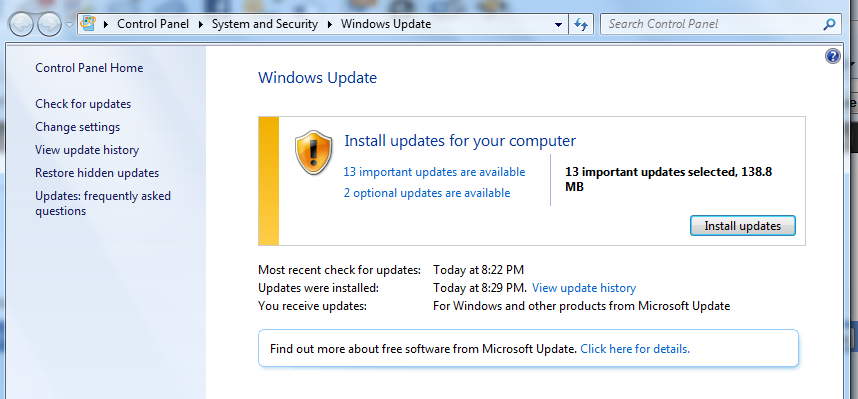
- Run Windows Update and see if your PC is fully upgraded. (Hit the Start Key and type “Windows Update”, then click either “Check for Updates” or “Install updates”.) Your computer may restart—this is normal.
- Back up your important files, just in case. (Make sure you check “Documents,” the desktop, “Downloads,” “Music,” “Videos,” and “Pictures” for any files you might want to keep safe.)
- Create a Microsoft account at http://mail.live.com/ (we’ll use this later to personalize and backup your Windows 8 settings).
- NOTE: Your Microsoft account comes with the Hotmail email service, SkyDrive (where you’ll store and access your files on the cloud) and Office Web Apps (Ever been annoyed at Gmail for killing your formatting? Use these web apps from Microsoft itself to maintain the look and feel of your MS Office anywhere, anytime.), and you can even register an Xbox Live account to it for gaining achievements, listening to free music on Xbox Music (US only, so PRO TIP if you want to use Xbox services: choose US as your Xbox Live location.)
- If you already have a Microsoft account (*@live.com, *@hotmail.com, *@msn.com, and *@outlook.com), ignore this step.
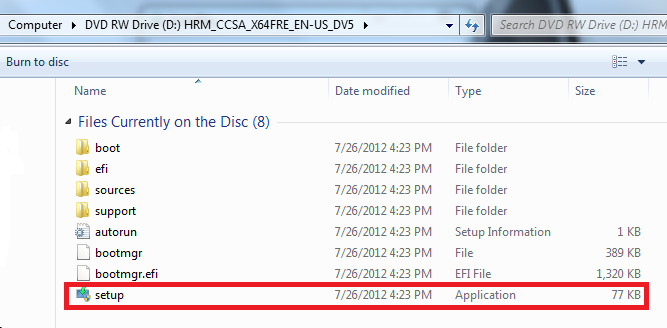
- Put the disk in the disk tray of your disk drive (if you have one) and run “setup.exe” (either by click run “setup.exe” in the window that pops up or by navigating to the disk, opening it, and looking for the file that says “setup”). Let the setup application load.
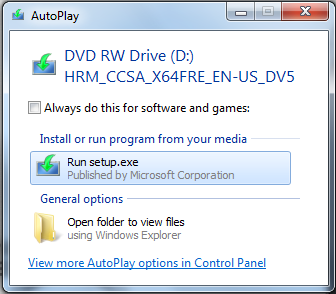
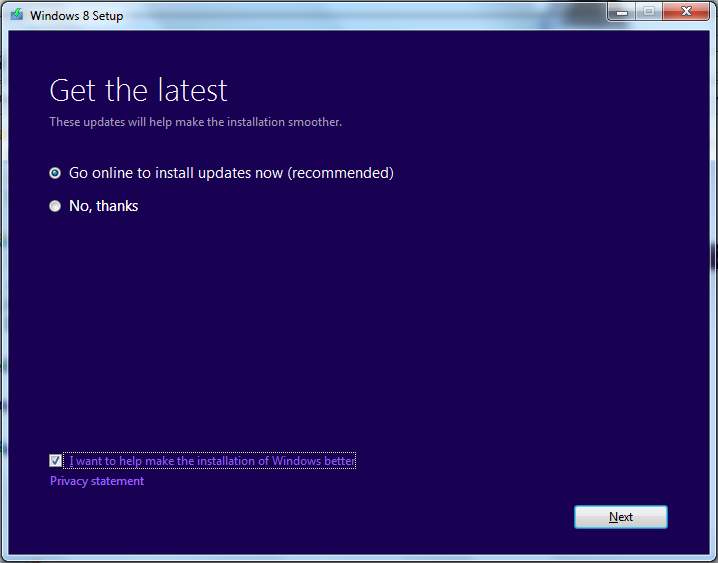
- The setup will prompt you to install updates. You can skip this, but I highly recommend you install the updates. Click “Next” once you’ve made your choice.
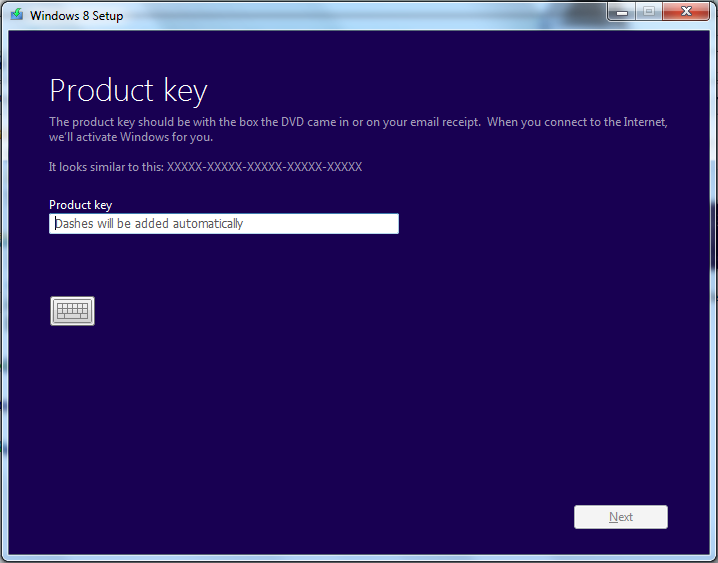
- Setup will now ask you for a product key. Simply type the product key into the text box without typing the dashes. Click “Next” when you’re done.
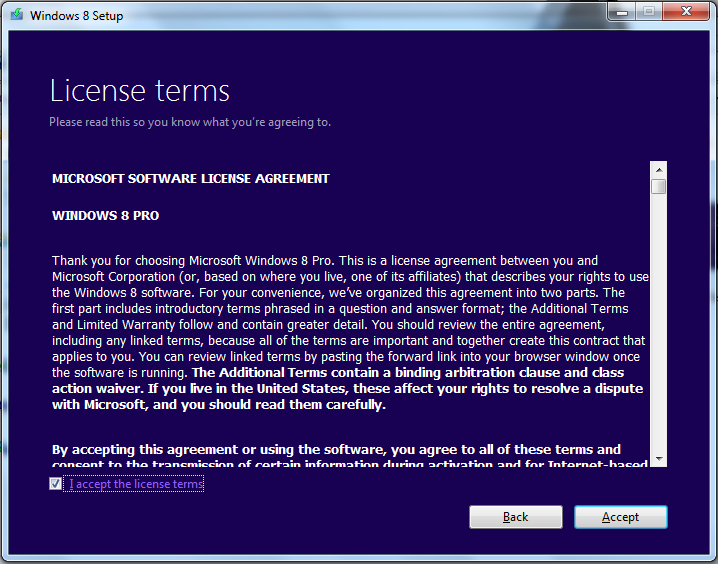
- Read the License Terms carefully click the “I accept…” checkbox and then click Accept. (NOTE: You are only allowed to use the license on one computer at a time.)
- Now here is the important part. You get to choose between upgrading your Windows PC (keeping settings, personal files, and apps—or keeping personal files only) or reformatting your hard drive and installing Windows 8 on it (keep nothing). Select carefully, and click next to move on.
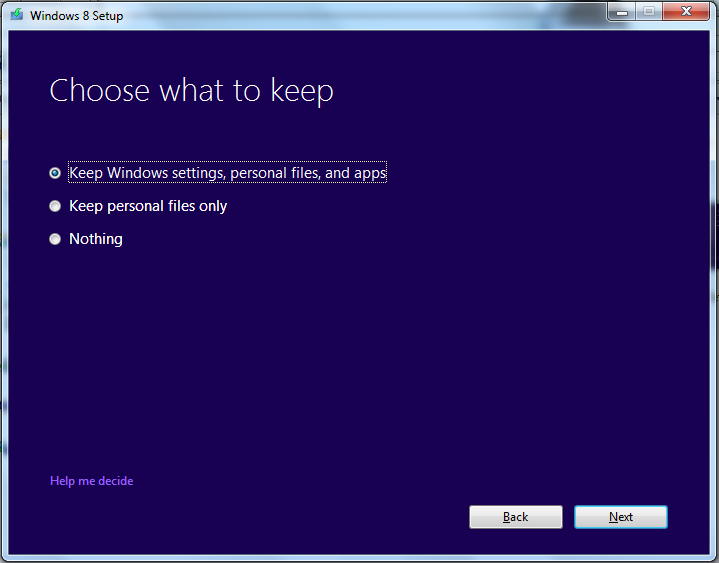
- As a side note, upgrading requires that you go from a Windows 7 installation to a Windows 8 installation with the same number of bits. (Right click “Computer” in the Start Menu and click “Properties,” then check the row labeled “System Type” to see if you have a 64-bit or 32-bit version of Windows. Install the version of Windows 8 that matches this line).
- Otherwise, you will be forced to delete all of your files to install Windows 8.
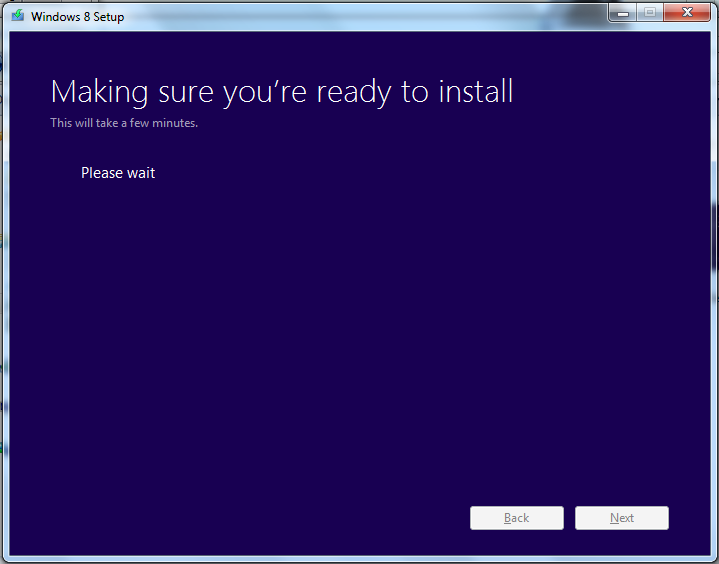
- The Windows 8 setup will now check to see if you’re ready to install Windows 8. This might take a while, so grab a bite to eat and a drink while you’re waiting.
- The setup application will now list applications and drivers that are incompatible with your Windows 8 installation. Simply uninstall these to proceed. Note down the incompatibilities listed here because you’re going to have to go to your computer manufacturer’s website to download and install the updates after installing Windows 8. Click restart.
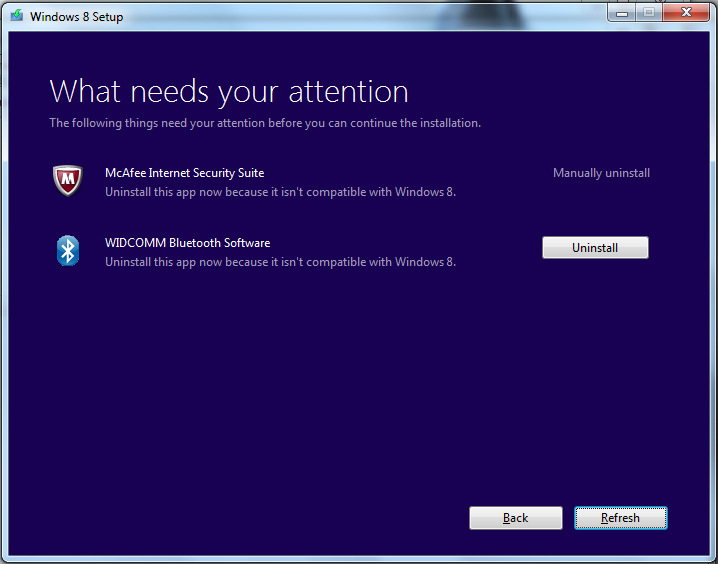
- UNLESS it says your Wifi device (or any other device) is incompatible (it should say something like “Wireless …”). If so, go to your manufacturer website and see if they’ve said anything about updated drivers for your errant device. If so, stop upgrading immediately or your laptop may lose certain features when you upgrade to Windows 8.
- Of course, ignore any mention of USB 3.0 or Bluetooth incompatibilities–Windows 8 has these features built-in and you won’t lose functionality.
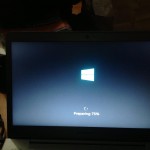
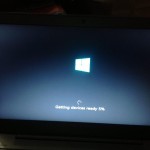
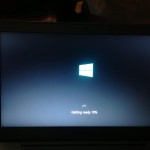
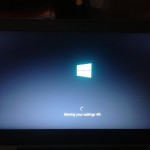
- The installation will now proceed. Your PC will reboot a few times, but just be patient. 🙂
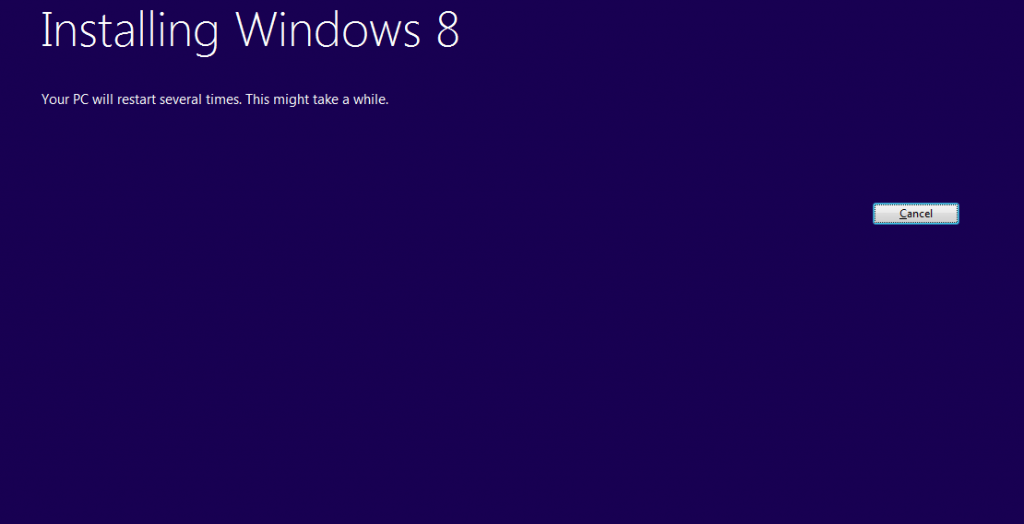
- A few things will flash on the screen here: “Installing”, “Preparing”, ”Getting Devices Ready”, and “Getting Ready”.
- A short tutorial will play showing you how to use the new interface of Windows. (HINT: If you have a touch screen, swipe from the edges. If you have a mouse, move your mouse into the corners and edges and play around to figure out what you have to do. If you have a keyboard, do a Bing search for keyboard shortcuts to use your PC faster than how you used Windows 7.)
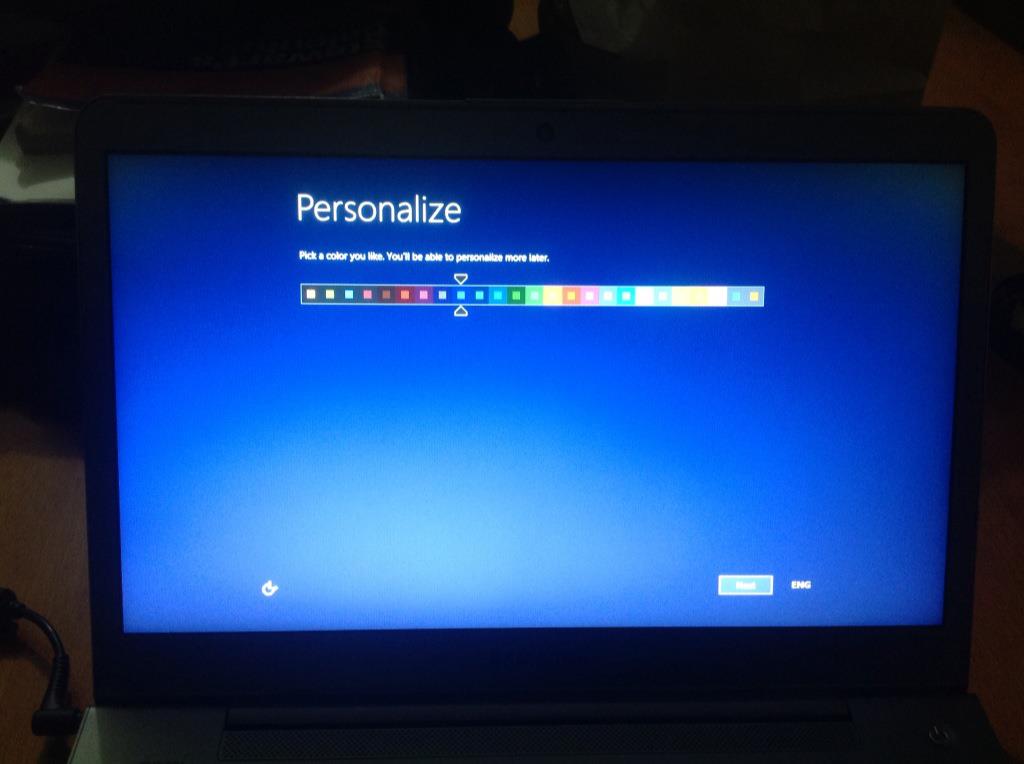
- Personalize your color scheme!
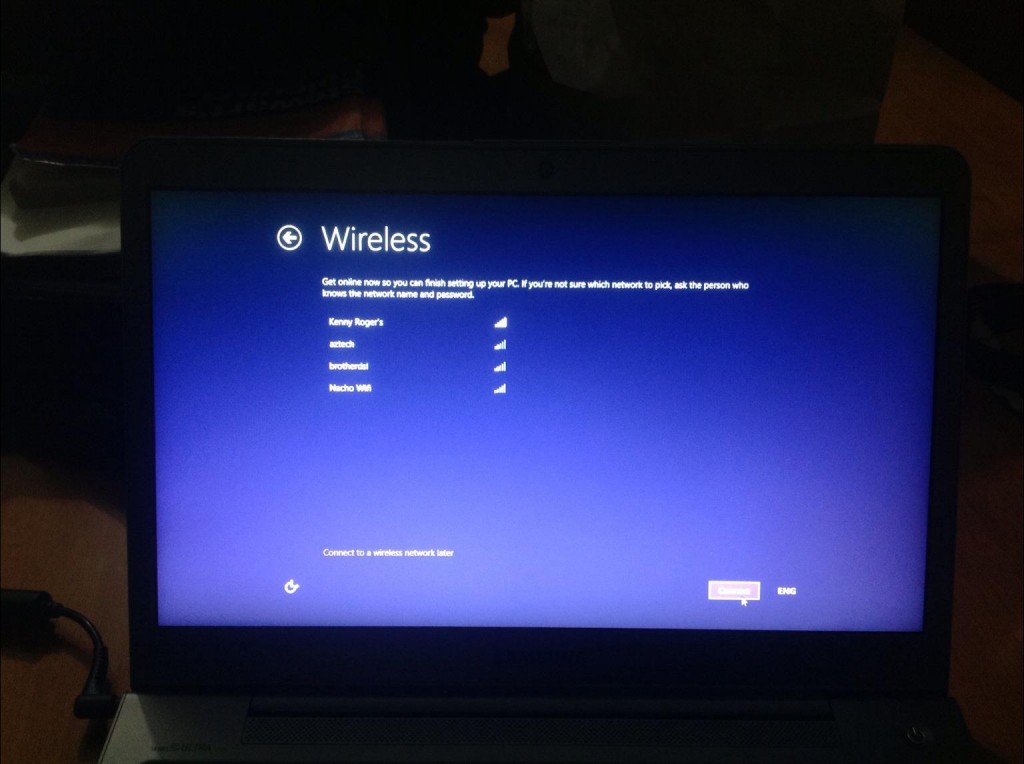
- (If you have a Wifi on your computer) it will ask you to connect to your Wifi. Simply click on the name of the Wifi network you want to connect to, enter your password, and you’re done.
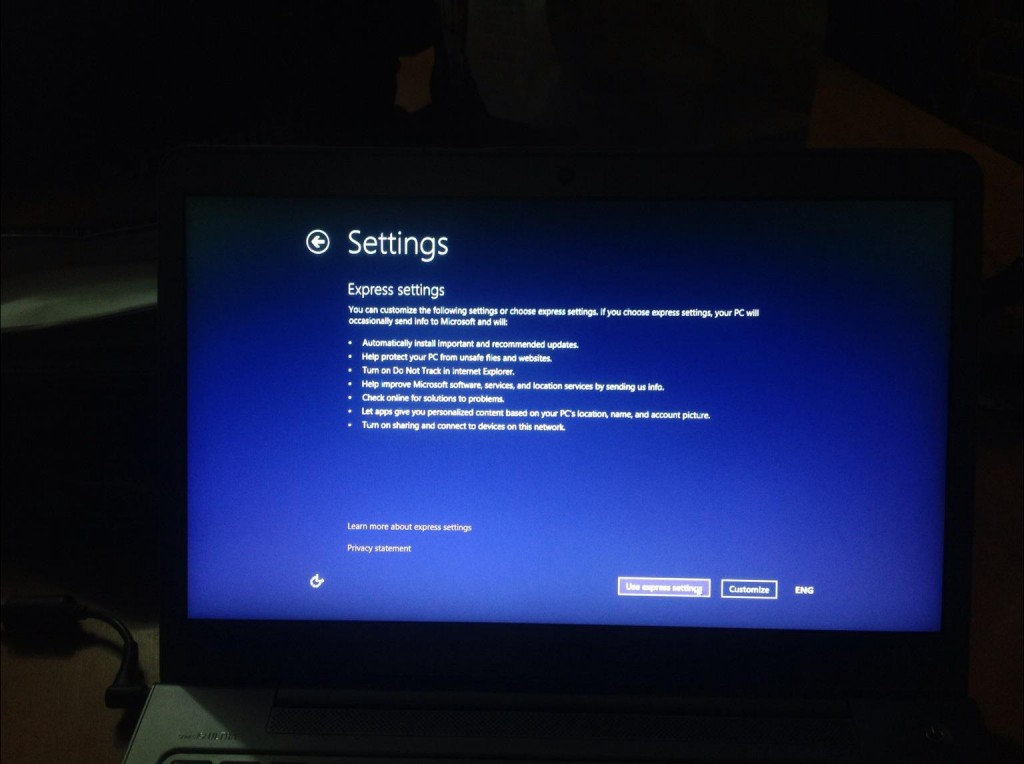
- The setup will then ask if you want to customize your settings or use Microsoft’s chosen settings. If you feel like you need to have control over what happens on your computer, then click customize (my preferred choice). Otherwise, Microsoft has chosen settings to maximize your privacy and minimize the number of dangers lurking in the depths of the internet so feel free to click Express.
- Sign in to your existing User account transferred from Windows 7.
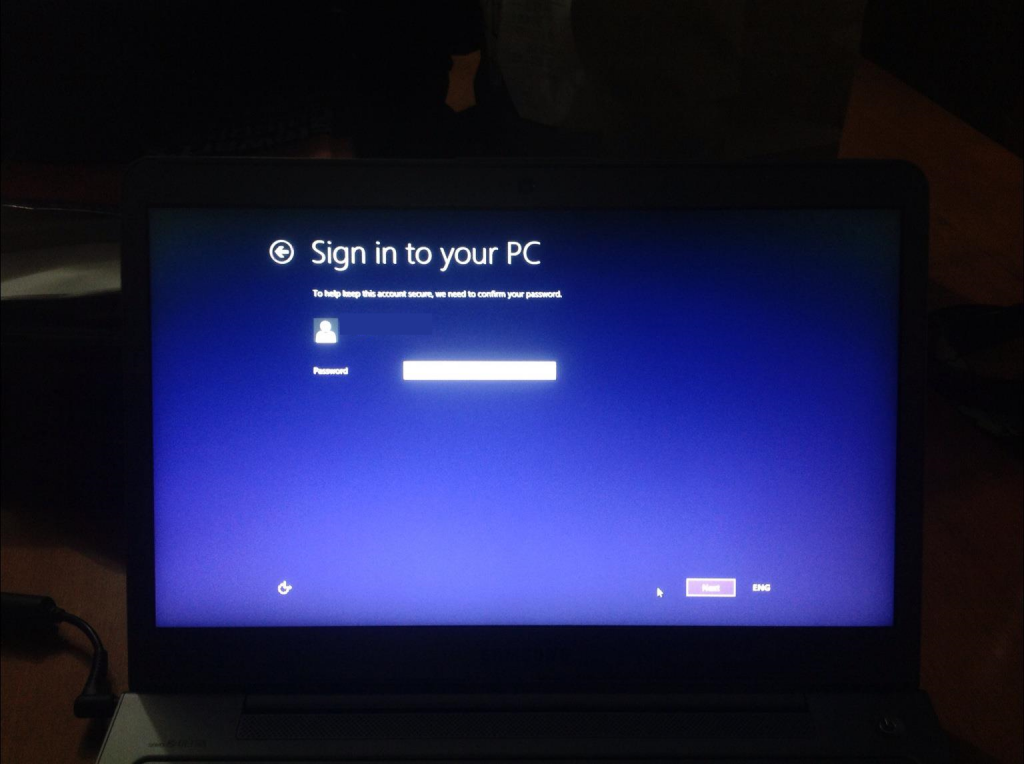
- Sign in to the Microsoft account you created before.
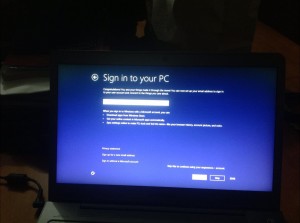
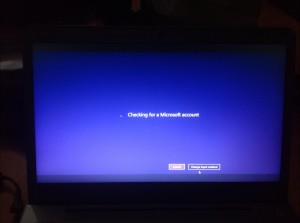
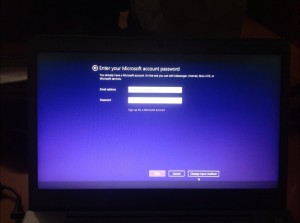
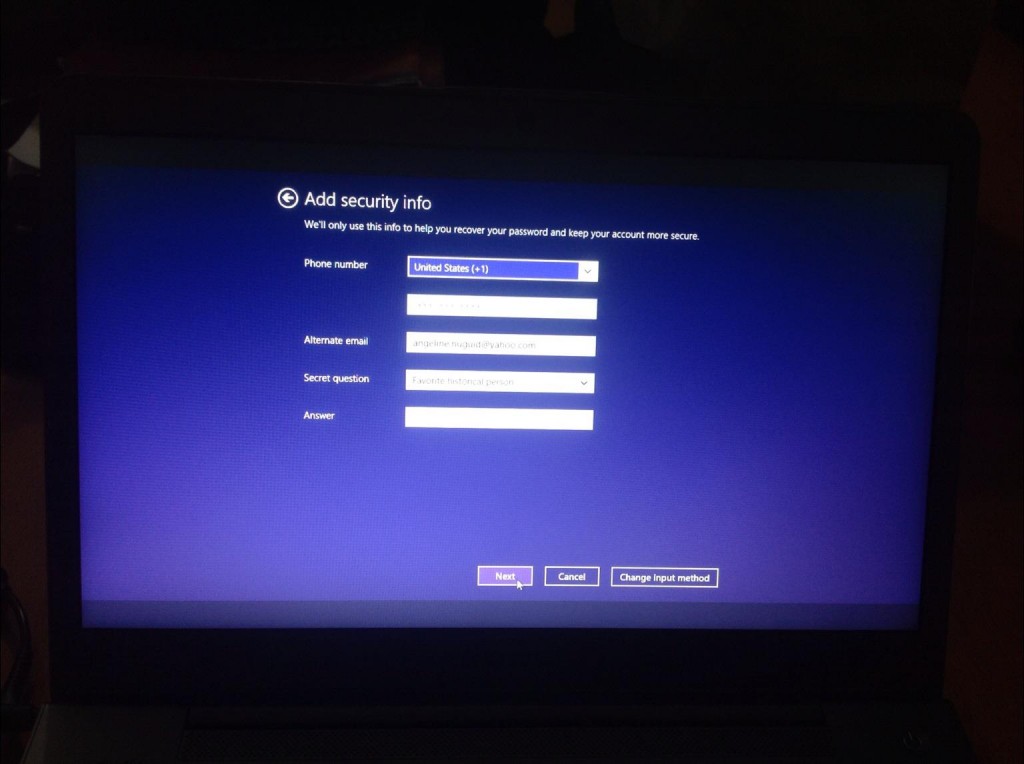
- Add a few security details so you can retrieve your password in case you forget via mobile phone or an alternate email address.
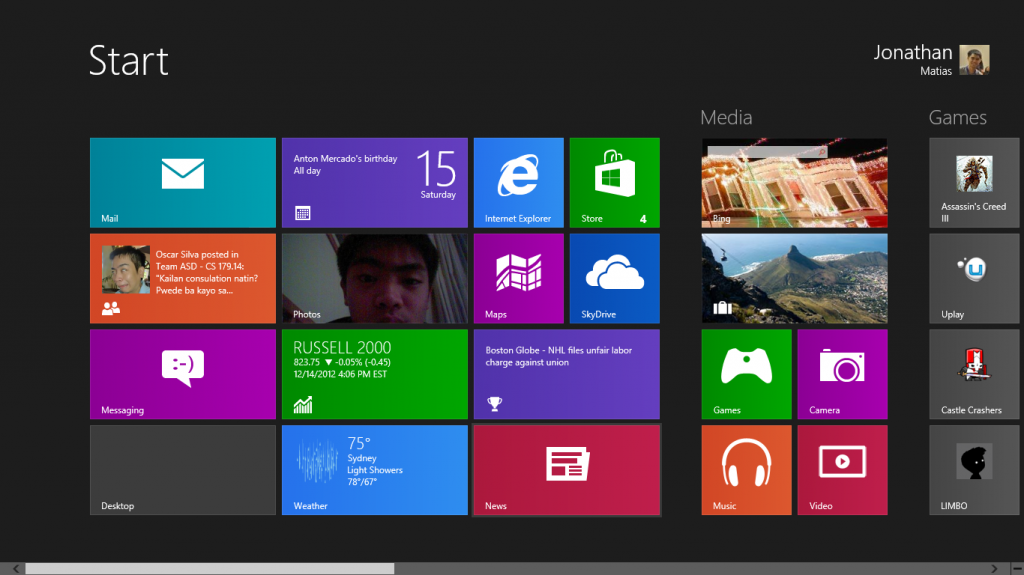
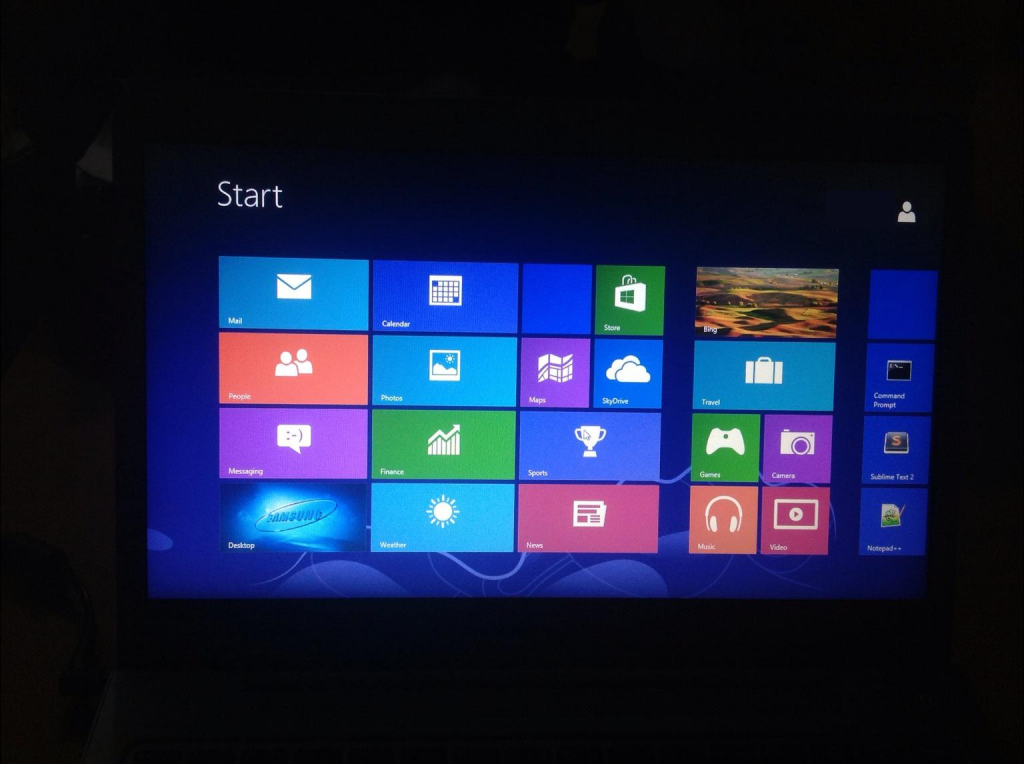
- HI WINDOWS 8! Say “Hello!” to your new Start Screen and your new tiles! Your installation odyssey is done. Click the Desktop tile to go to your beloved desktop, or click Store to download Apps like Jetpack Joyride, Cut the Rope, student-developed apps like Squiggle, Square Sanity, and MakeAllHappy, and more.
Final Tips:
- If you want to shut down/sleep/restart your PC, move your mouse to the top right of the screen and push it right into the corner until five icons appear. This is called your Charms Bar. Then slide down to access the “Setting” charm. Click it and click “Power.”
- As a final reminder, when in doubt do these four things:
- always hit your Start Key to return to the Start Screen;
- always use the corners (just move your mouse into a corner to trigger the gestures);
- if you’re looking for something, hit the Start Key and just start typing (click the options on the right to fine-tune your results);
- and most importantly, never forget about the keyboard and mouse shortcuts you already know! (Alt-F4 to exit anything, Alt-Tab to switch from window to window to App, Windows-Key-Tab to switch from your Desktop to an App only, Windows-Key-D to jump to the Desktop, and right click on your mouse—even in a fullscreen App—to show details you might want to access.)

Comments